Scrolling buyers decide in seconds. On Providence’s East Side, many of them care deeply about light, materials, and the story a home tells. If you plan to sell within the next year, the way you prepare, stage, and photograph your home will shape who shows up — and how quickly they act. In this guide, you’ll learn what design-minded buyers look for, which updates pay off, how to navigate historic and legal steps, and the exact sequence to launch with confidence. Let’s dive in.
Why design-led prep matters on the East Side
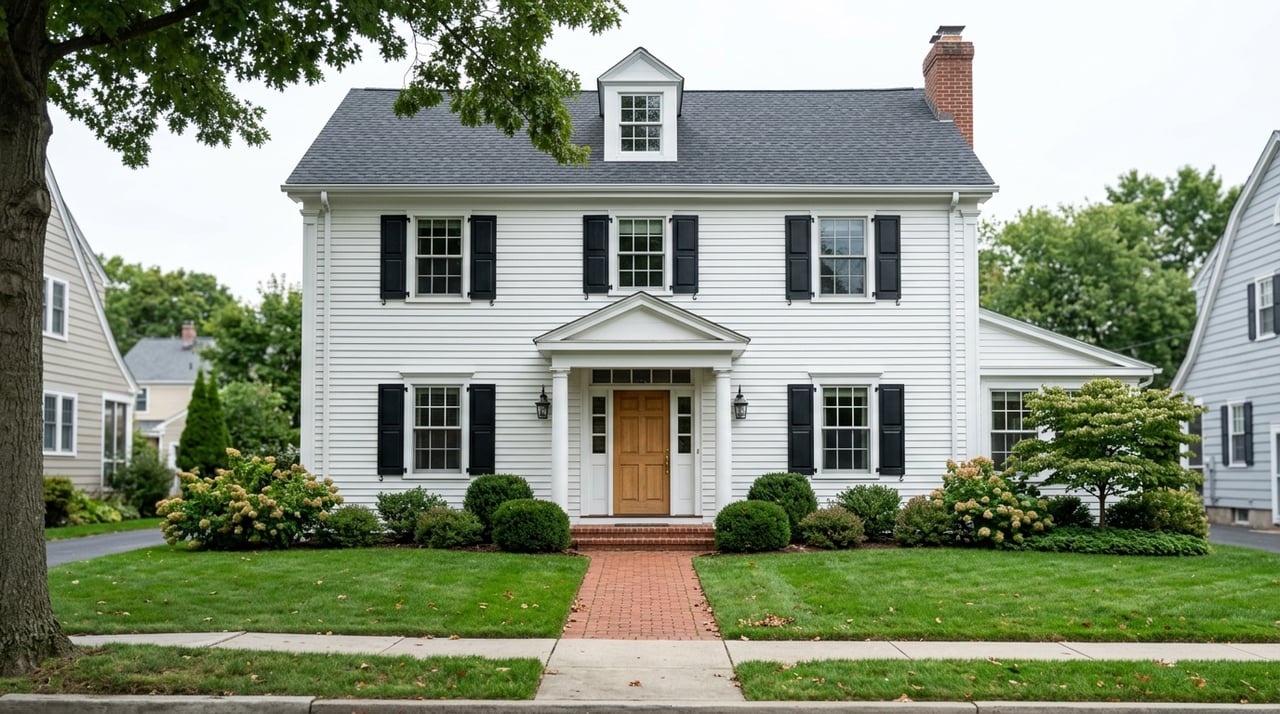
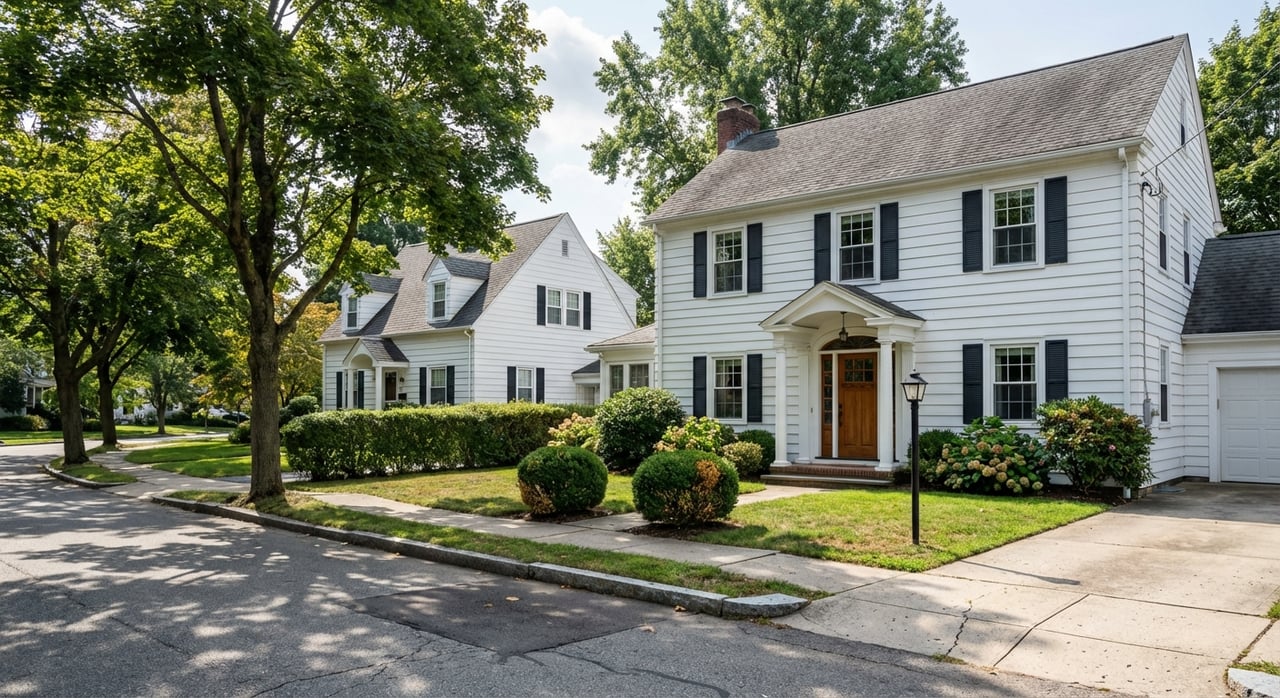
East Side homes command a premium within Providence, and that premium grows in certain property types such as condominiums. Time on market varies by category, which means buyers are selective and presentation is your edge. A curated look and cohesive story can help you stand out in a competitive, detail-driven segment.
Neighborhoods like College Hill and Benefit Street sit within historic districts, where architecture and craftsmanship set high expectations. The area’s cultural context and proximity to institutions create a pool of buyers who value design and heritage. To meet that standard, surface your home’s best features while signaling modern, move-in-ready comfort. For context on the historic character around Benefit Street, explore the Mile of History resources.
Prioritize updates that move the needle
You do not need a full renovation. Focus on a minimum effective package that maximizes first impressions and online performance:
- Declutter and depersonalize. If needed, rent short-term storage so sightlines feel open and calm.
- Deep clean throughout. Include professional carpet or hard-floor refresh to revive surfaces.
- Paint in neutral tones. Target living areas, the main bedroom, and walls visible from the kitchen.
- Knock out small repairs. Update lighting, cabinet hardware, faucets, and touch up doors and trim.
- Elevate curb appeal. Tidy the entry, refresh the front walk, and add simple, healthy plantings.
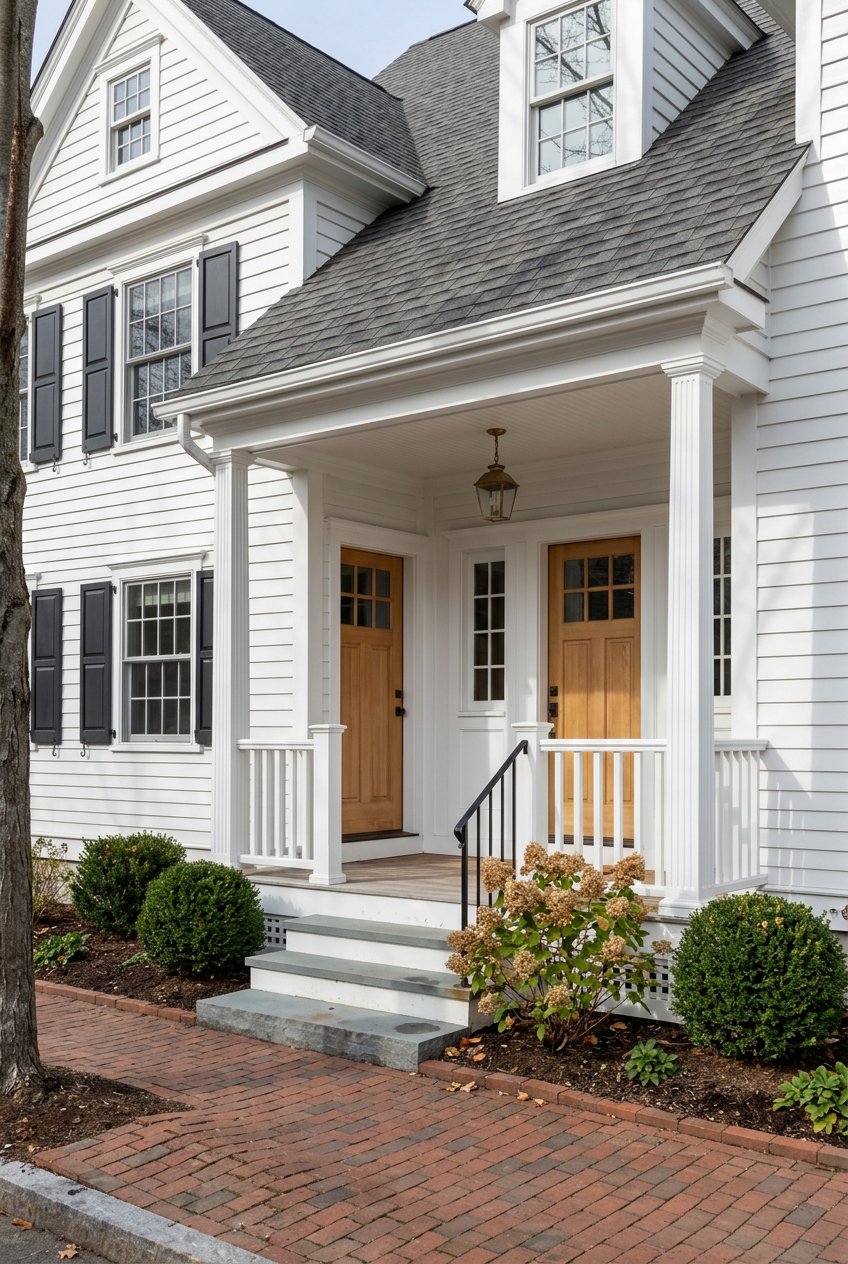
- Let the light in. Replace heavy window treatments and swap dated fixtures. Highlight original moldings, fireplaces, and built-ins.
These priorities align with national guidance showing that cleaning, decluttering, paint, and staging key rooms consistently influence buyer reactions. You can review the data in the NAR 2025 Profile of Home Staging.
Historic and legal must‑knows in Providence
Many East Side blocks are in local or national historic districts. Exterior changes visible from the street often require review and approval. Before you plan any exterior replacements or additions, confirm rules and timelines, and be ready to document historic-district status for buyers. For neighborhood background on the historic corridor, see the Mile of History overview.
Permits: In Providence, some interior and most exterior work requires permits. The city notes quicker processing for many minor permits, with larger projects needing plan review and longer lead times. Build permit windows into your contractor schedule. For timing guidance, check the Providence building and inspection office information.
Disclosures and lead rules: Rhode Island requires a written property disclosure before a purchase agreement is signed. If your home was built before 1978, you must follow federal and state lead‑paint notification steps and provide the EPA pamphlet. Buyers are typically given a defined inspection window to evaluate lead risks. Review the statutory requirements in the Rhode Island code via this summary.
Staging that speaks to design‑minded buyers
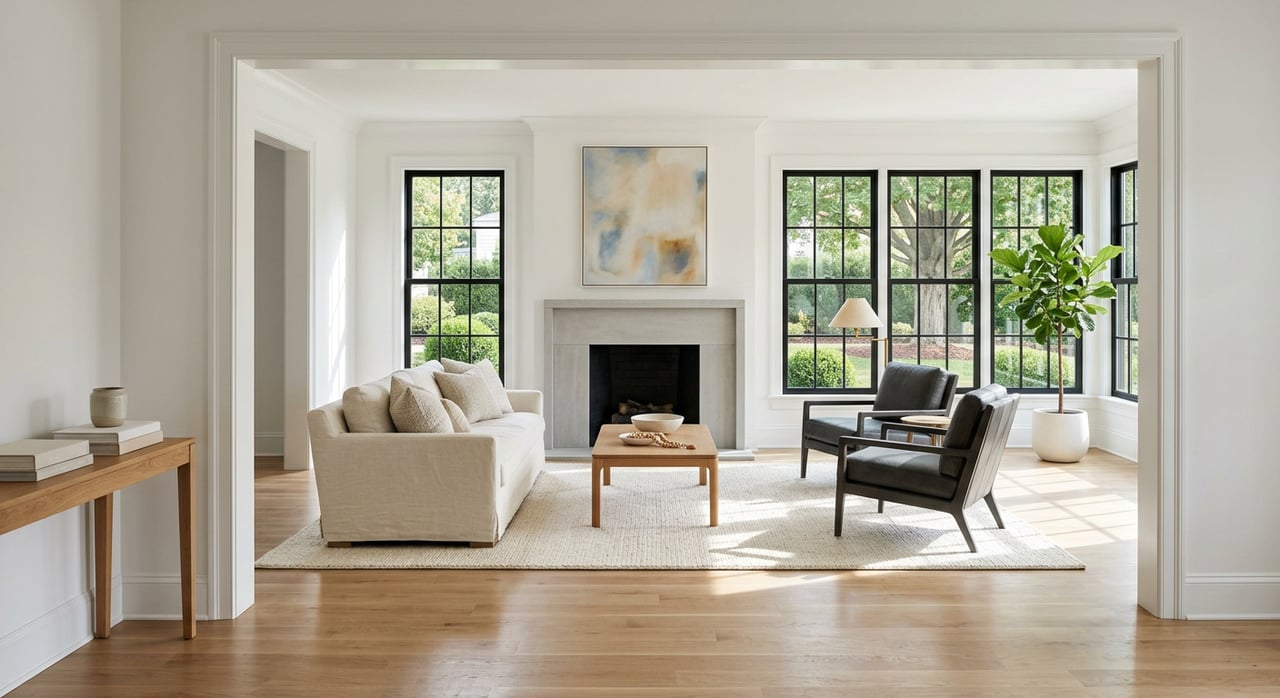
Staging is not decoration. It is a targeted way to help buyers read the architecture and imagine a refined, livable home. National survey data shows the biggest impact comes from staging the living room, primary bedroom, and kitchen. Agents also report staging can shorten market time and, in some cases, contribute to higher offers.
Budgeting: The same survey reports a median cost around 1,500 dollars for professional staging services, with broader ranges in the low thousands for full‑service installs. On the East Side, selective staging is often enough — focus on the rooms above, then style secondary areas lightly to maintain continuity. You can review cost ranges and impact in the NAR 2025 staging report.
Styling notes for historic homes: Keep walls light to show millwork shadows. Use scaled-down furniture so fireplaces and built-ins read as focal points. Choose simple window treatments that frame, not cover, original trim. In kitchens and baths, crisp towels, polished hardware, and uncluttered counters telegraph care and cleanliness.
Photos, 3D tours, and a cohesive listing story
Buyers decide to request a showing based on what they see online. High-quality photos remain the most influential listing element in national surveys, with 3D tours and videos also driving engagement. For design-conscious buyers, curated visuals and a clear narrative often create the emotional connection that leads to early showings. See the visual marketing findings in the NAR staging profile.
What to capture:
- Interior photos after staging. Prioritize natural light and balanced compositions that show room flow.
- Twilight exteriors for glow and curb appeal. Schedule around golden hour.
- Drone shots when lot context, water, or city views matter.
- A Matterport or 3D walkthrough to reach remote or busy buyers, especially for architecturally interesting homes and condo units.
Listing copy that respects Fair Housing: Lead with one striking design detail. Then describe lifestyle and primary spaces in neutral, inclusive terms. Add a clean spec line — beds, baths, square footage, recent improvements — and finish with factual neighborhood context like parks, institutions, or dining, without implying a preferred buyer type.
The right order of operations
Sequence helps you avoid rework and missed opportunities:
- Complete repairs and paint.
- Deep clean throughout.
- Install staging.
- Capture professional photography and 3D tour.
- Edit, finalize listing copy and specs, and publish.
This order ensures your visuals reflect the home at its best, which supports early showing activity. The approach aligns with industry practice and the NAR staging profile.
Your 8–12 week prep timeline
Use this streamlined path to go from idea to market with less stress:
- 8–12 weeks out: Choose your listing agent and confirm goals, budget, and target buyer profile. If any systems or exterior work is planned, start permits early, since larger reviews can take longer. See Providence’s guidance on permit timing and reviews.
- 4–6 weeks out: Complete repairs, paint, and exterior work. Finish landscape clean-up. Book staging and storage as needed. Keep receipts and permit documents organized for your eventual disclosure packet.
- 7–3 days before photos: Stager installs furniture and styling. Complete final cleaning and touch-ups. Lock in photographer, schedule twilight exteriors when possible, and order the 3D scan the same day.
- Listing day: Confirm edits on photos and tour. Finalize copy, specs, and disclosures. Launch with a coordinated rollout plan and clear showing logistics.
Vendor team and coordination tips
Even a modest refresh benefits from a small, well-sequenced team. Your core players often include a listing agent, licensed general contractor, electrician or plumber as needed, painter and carpenter, stager or stylist, photographer with drone or 3D capabilities, landscaper, professional cleaner, moving or storage provider, and a closing attorney.
Project management best practices:
- Create a written punch list with key dates and owner or agent sign‑offs.
- Book the stager and photographer early. Stagers may require 1–3 weeks lead time.
- Get written estimates with a clear scope, inclusions, and cleanup expectations.
- Bundle install and photo day to minimize disruptions and maintain a consistent look.
A sample, design-forward listing outline
Use this structure to keep your copy clear, compliant, and compelling:
- One-line hook: “Sunlit double parlor with restored Federal-style moldings.”
- Two to three sentences on lifestyle and primary spaces: Introduce the living areas, updated kitchen, and main bedroom suite. Keep it factual and inclusive.
- Spec line: Beds, baths, square footage, parking, notable upgrades and dates.
- Neighborhood context: Parks, cultural institutions, dining, transit, and general walkability without implying who should live there. For historically significant blocks, note preserved details and stewardship.
- Showing and CTA: Clear instructions for tours and how to request more information.
For additional context on the impact of visuals and staging, see the NAR 2025 Profile of Home Staging.
Common mistakes to avoid
- Skipping paint or lighting updates that would modernize the feel at low cost.
- Staging after photos. This reduces online impact and can slow showings.
- Ignoring permit or historic-review timelines until the last minute.
- Overpersonalizing the narrative. Keep copy descriptive and inclusive.
- Letting heavy window treatments block natural light and trim details.
If you take a design-minded approach to prep, you’ll meet East Side buyers where they live — in the story the home tells and the feeling it gives them online. When every image, finish, and phrase works together, you invite stronger early interest and a smoother path to the closing table.
If you’d like a calm, turnkey plan tailored to your property, I’m here to help with pricing, vendor coordination, staging, photography, and launch. Start with a conversation and a market read — Sabine Green. What’s Your Home Worth?
FAQs
How should a Providence East Side seller budget for staging?
- National data shows a median of about 1,500 dollars for professional staging, with many full-service installs falling in the low thousands. Prioritize the living room, primary bedroom, and kitchen.
Do exterior updates in Providence historic districts need approval?
- Often yes. Exterior work visible from public ways may require review and approval. Confirm rules and timelines early, and document historic-district status for buyers.
What permits are needed before listing a home in Providence?
- Many interior and most exterior projects require permits. Minor permits can be processed faster, while larger plan reviews take longer. Build city review windows into your contractor schedule.
Which rooms should I stage to attract design-focused buyers?
- Focus on the living room, primary bedroom, and kitchen. These rooms have the highest reported impact on buyer perception and can help shorten time on market.
Are 3D tours worth it for East Side condos and historic homes?
- Yes. 3D or interactive tours boost online engagement and help remote or busy buyers evaluate layout and details, which can lead to earlier, more qualified showings.
What disclosures are required for older Providence homes?
- Rhode Island requires a written property disclosure before a purchase agreement is signed. For homes built before 1978, you must follow specific lead‑paint notification steps and provide the EPA pamphlet.